
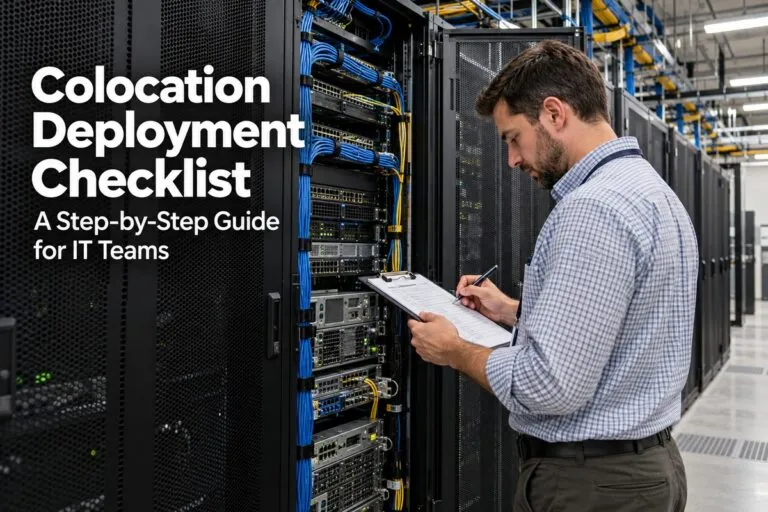
Colocation Deployment Checklist: A Step-by-Step Guide for IT Teams
A colocation deployment checklist helps your team move equipment into a data center without delays, surprises, or missed steps. A good checklist covers the work before shipping, the work on install day, and the work after you power on. This guide walks through each stage so your next colocation deployment goes smoothly.
It is written for IT managers, IT leaders, facilities leaders, and corporate teams who plan data center moves, expansions, and new builds.
Planning Checklist: What to Do Before You Ship Anything
Most colocation problems start before the first server leaves the dock. Good planning fixes them early.
Confirm Space, Power, and Cooling
Ask your colocation provider to confirm these items in writing:
- Cabinet or cage location and size
- Power capacity per rack, in kilowatts (kW)
- Power type, such as 120V, 208V, or 240V
- Cooling limits per rack
- Floor weight limits
- Cross connect and carrier availability
Do not assume you have what you need. Many racks sold as “available” have limits on power or cooling that your hardware may exceed.
Review Your Contract and Access Rules
Read your colocation agreement before deployment day. Look for:
- Who can enter the data center
- How far in advance you must request access
- Delivery windows and dock hours
- Rules about packing material, boxes, and tools
- Fees for remote hands and after-hours work
Add every approved technician to the access list early. A missing name on that list can stop a whole install.
Build a Complete Equipment List
Make one list that includes every item going into the cabinet. For each item, record:
- Make and model
- Serial number
- Rack units (U) needed
- Power draw in watts
- Number and type of network ports
- Weight
- Rail kit type
This list becomes your guide for rack layout, power planning, and receiving.
Colocation Provider and Facility Checklist
Picking the right facility sets the base for everything else. Check these items before you sign.
Check the Uptime Tier Level
The Uptime Institute rates data centers in four tiers. Higher tiers allow less downtime each year.
| Tier | Expected Availability | Approx. Downtime Per Year |
|---|---|---|
| Tier I | 99.671% | About 28.8 hours |
| Tier II | 99.741% | About 22 hours |
| Tier III | 99.982% | About 1.6 hours |
| Tier IV | 99.995% | About 26 minutes |
Most business-critical workloads belong in Tier III or higher.
Questions to Ask Your Colocation Provider
- Is power fed from two separate sources (A and B feeds)?
- What backup power is in place, such as UPS and generators?
- How often is backup equipment tested?
- What fire suppression system is used?
- Which carriers are in the building?
- How fast is on-site support available?
- Is there a loading dock and staging room?
Power and Cooling Checklist
Power and cooling are the two most common limits in colocation. Check them twice.
Do the Power Math
Use this simple formula:
Watts = Volts x Amps
Example: a 208V, 30A circuit supports 6,240 watts. Electrical rules call for loading a circuit to no more than 80 percent for continuous use. That leaves about 4,992 watts of usable power.
Use this power checklist:
- Add up the real power draw of all devices, not just the label rating
- Keep each circuit under 80 percent load
- Use A and B power feeds for redundant devices
- Keep each feed under 40 percent of its rating, so one feed can carry the full load if the other fails
- Match plug types to the rack PDU outlets (C13, C19, or NEMA)
- Plan for growth of at least 20 percent
Plan for Cooling
ASHRAE suggests an inlet air temperature of 64.4°F to 80.6°F (18°C to 27°C) for most data center equipment.
Keep these cooling steps in mind:
- Mount equipment so air flows front to back
- Use blanking panels in every empty rack space
- Do not block vents with cables
- Ask about hot aisle and cold aisle setup
- Ask the provider for the kW limit per rack before you buy hardware
Rack Layout Checklist
A clean layout makes service easier and keeps equipment safe.
Know the Basic Rack Numbers
| Item | Standard Size |
|---|---|
| Rack width | 19 inches |
| One rack unit (1U) | 1.75 inches |
| Full-size rack (42U) | 73.5 inches of usable height |
| Common cabinet depth | 36 to 48 inches |
Always check the cabinet depth against your server depth. Deep servers and rear cables need extra room.
Follow Good Layout Rules
- Put heavy items, such as UPS units and large servers, at the bottom
- Keep switches near the top for shorter cable runs
- Leave space for airflow and future growth
- Group devices by function
- Place power strips on opposite sides for A and B feeds
- Confirm rail kits fit the rack before shipping
- Label the rack position of every device in your plan
Network and Cabling Checklist
Cabling mistakes are easy to make and slow to fix. Plan the cable paths before install day.
Cabling Checklist
- Choose cable type: copper (Cat6 or Cat6a) or fiber (single-mode or multimode)
- Keep copper runs under 328 feet (100 meters)
- Measure cable lengths and order the right sizes
- Use color codes for different networks
- Label both ends of every cable
- Use cable management arms and Velcro straps
- Do not bend fiber cables sharply
- Test every cable before use
Network Connection Checklist
- Confirm cross connect orders are complete
- Get IP addresses, VLANs, and subnet details ready
- Pre-configure switches and firewalls when possible
- Confirm ISP circuits are live and tested
- Prepare out-of-band management access
- Record port maps for every device
Shipping and Receiving Checklist
Equipment can get lost, damaged, or delayed. A simple receiving process prevents most problems.
Before Shipping
- Send the provider a list of what is arriving and when
- Add the data center address, suite, and contact name to each label
- Use sturdy packaging for servers and storage
- Take photos of packed gear
- Track every shipment
- Ship early so equipment arrives before your install date
When Equipment Arrives
- Check boxes for damage before signing
- Match every item to the equipment list
- Record serial numbers
- Store gear in a secure staging area
- Report missing or damaged items right away
Installation Day Checklist
Install day goes best when everyone knows their role.
Rack and Stack Steps
- Review the rack layout plan with the install team
- Install rails and cable managers
- Mount servers, storage, and network gear from the bottom up
- Install blanking panels in empty spaces
- Connect power cables to the correct A and B feeds
- Connect network and management cables
- Label every cable and device
Power On and Test
- Check PDU readings before turning anything on
- Power on devices in small groups
- Watch for alarms, fan issues, and error lights
- Test network links and cross connects
- Confirm remote access works
- Test failover between A and B power feeds when allowed
- Record final power draw per circuit
Security and Documentation Checklist
Good records save hours of work later.
Security Steps
- Lock the cabinet and confirm key or code access
- Change all default passwords
- Turn on device logging
- Update firmware before going live
- Review who has physical access to your cabinet
- Add the cabinet to your asset tracking system
Documentation to Collect
- Final rack diagram with photos
- Cable and port map
- Power load report
- Serial numbers and warranty details
- Provider contacts and support numbers
- Escalation steps for outages
Post-Deployment Checklist
The job is not done when the lights turn on. Finish with these steps.
- Run a full test of applications and services
- Confirm monitoring is active, including network and hardware alerts
- Set alert thresholds for power, heat, and uptime
- Back up configurations
- Clean up packing materials and remove trash
- Return unused tools and spare parts
- Hold a short review with your team
- Update your disaster recovery plan
Sample Colocation Deployment Timeline
Timelines vary by project size, but this gives you a starting point.
| When | Task |
|---|---|
| 8 to 12 weeks before | Pick provider, sign contract, confirm power and space |
| 6 to 8 weeks before | Finish equipment list and rack layout |
| 4 to 6 weeks before | Order cross connects, circuits, and cables |
| 2 to 4 weeks before | Ship equipment and submit access requests |
| 1 week before | Review plan with install team and provider |
| Install day | Rack, cable, power on, and test |
| 1 to 2 weeks after | Final testing, documentation, and project review |
Common Colocation Deployment Mistakes
Avoid these problems that often cause delays:
- Ordering hardware that needs more power than the rack allows
- Forgetting rail kits or the right power cords
- Shipping gear to the wrong suite or without a contact name
- Not adding technicians to the access list
- Skipping labels on cables and devices
- Leaving gaps in the rack with no blanking panels
- Not testing both power feeds
- Waiting until install day to find missing parts
Get Help With Your Next Colocation Deployment
A strong colocation deployment checklist keeps your project on time, on budget, and ready for growth. Following each step before, during, and after install day reduces risk and gives your team a clear plan.
If you need extra hands for rack and stack, cabling, remote hands, or a multi-site rollout, the team at Deploy Nation can support your project anywhere in the country. Reach out to talk through your colocation deployment and get the right technicians on site.