
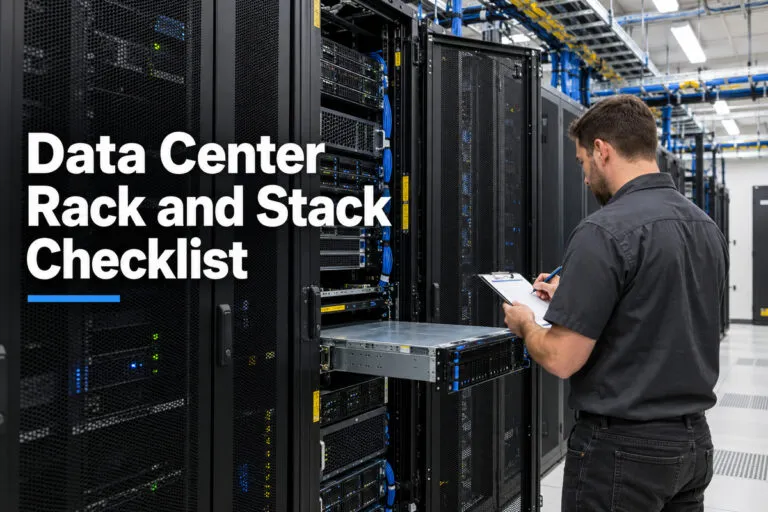
A data center rack and stack checklist helps your team install servers, switches, and storage the right way the first time. It keeps every step in order. It also cuts down on mistakes, delays, and costly rework. This guide walks through each stage of a rack and stack project, from planning to final sign-off, so your next install goes smoothly.
Whether you are adding ten servers to one rack or rolling out gear across many sites, the same basics apply. Use this list as a starting point and adjust it for your own environment.
Pre-Install Checklist: What to Do Before Equipment Arrives
Good rack and stack work starts before anyone touches a server. Most delays come from missing parts, wrong power plugs, or not enough space.
Confirm the Scope and Equipment List
Start with a clear list of what is going in the rack. Match it against the purchase order and the project plan.
- Make, model, and serial number of each device
- Rack unit (U) size of each device
- Power needs for each device
- Network port counts and cable types
- Target rack and U position for each device
Check Space, Power, and Cooling
Check the room before the gear shows up. A rack that has no open power outlets or cooling room will stop the whole job.
- Open rack units available in the target rack
- Open outlets on the PDUs (power distribution units)
- Total power load compared to the circuit limit
- Cooling capacity for the added heat
- Clear path from the loading dock to the data center floor
Prepare Tools and Supplies
Having the right tools on site saves hours. Pack extras of small parts, since they go missing often.
- Rack rails and mounting kits
- Cage nuts, screws, and a cage nut tool
- Cable ties, hook and loop straps, and labels
- Power cords and patch cables in the right lengths
- Anti-static wrist straps
- Screwdrivers, a torque driver, and a flashlight
- A server lift for heavy gear
Rack Basics Every Team Should Know
A few simple numbers show up in almost every rack and stack job. Knowing them helps you plan the layout and avoid surprises.
Rack Unit Sizes
Rack space is measured in units, called “U.” One U equals 1.75 inches (44.45 mm) of height. Most standard racks are 19 inches wide.
| Item | Standard Size |
|---|---|
| 1U height | 1.75 inches (44.45 mm) |
| Rack width (equipment mounting) | 19 inches |
| Common full-size rack | 42U |
| Total height of 42U of space | About 73.5 inches |
A 1U server is thin and common for web and compute needs. A 2U or 4U server often holds more drives or add-in cards.
Weight and Load Limits
Every rack has a weight limit. Add up the weight of all gear before you start. Do not guess.
- Check the rack’s rated load in the manufacturer’s spec sheet
- Add the weight of servers, switches, batteries, and cables
- Check the floor load rating, especially on raised floors
- Many teams plan for a two-person lift for any device over about 50 pounds
Receiving and Staging Equipment
What happens at the loading dock matters. A damaged box or a missing part is much easier to fix before the gear is racked.
Inspect and Inventory Each Item
Open each box and check it against the packing list. Take photos of any damage right away.
- Check for dents, bent rails, or cracked parts
- Confirm serial numbers match the paperwork
- Count rails, power cords, and manuals
- Report any problem to the vendor the same day
Label Before You Rack
Label gear while it is on the staging table. It is much harder once it is mounted and cabled.
- Asset tags on every device
- Hostname labels on the front and back
- Port labels for planned connections
- Power cord labels that show the PDU and outlet
Rack and Stack Installation Steps
Once the room is ready and the gear is checked, the real install begins. Follow the same order each time. It keeps the work clean and safe.
Plan the Rack Layout
A smart layout makes the rack easier to run for years. It also keeps airflow and weight in balance.
- Place the heaviest gear at the bottom of the rack to keep it stable
- Keep switches near the top or in a planned spot for short cable runs
- Leave open U space for growth where possible
- Keep power and network cables on opposite sides to cut down on noise and clutter
- Group devices that work together
Mount Rails and Servers
Rails go in first. Then the device slides in and locks into place.
- Check that the rails match the rack type (square hole, round hole, or threaded)
- Install cage nuts at the right U positions
- Secure the rails on both the front and back posts
- Use a lift for heavy servers
- Lock the device into the rails and test that it slides in and out smoothly
Install Switches, Patch Panels, and Storage
Network and storage gear often has strict airflow direction. Check which way the fans move before you mount it.
- Match switch airflow to the aisle layout (front-to-back or back-to-front)
- Mount patch panels at a height that is easy to reach
- Install storage shelves with the heavy drive trays last
- Add cable management arms or bars as planned
Power Checklist
Power mistakes can take down a whole rack. Plan this step with care and double-check it before turning anything on.
Connect Redundant Power
Most enterprise servers have two power supplies. Each one should go to a separate power source.
- Plug the first power supply into PDU A
- Plug the second power supply into PDU B
- Make sure PDU A and PDU B are on different circuits or feeds
- Use the right cord length so nothing is stretched or tangled
- Label both ends of every power cord
Check the Power Budget
Add up the power use of every device. Stay under the safe limit for each circuit and PDU.
- Use the nameplate or vendor spec for each device
- Plan for peak load, not just average load
- Leave room so one power side can carry the full load if the other side fails
- Record the final power numbers in your documentation
Cabling Checklist
Neat cabling is not just about looks. It helps airflow, speeds up repairs, and lowers the chance of someone pulling the wrong cable.
Choose the Right Cable Type and Length
The right cable depends on speed and distance. Here are some common limits for copper network cable.
| Cable Type | Typical Speed | Max Distance |
|---|---|---|
| Cat6 | 1 Gbps | 328 feet (100 m) |
| Cat6 | 10 Gbps | Up to 180 feet (55 m) |
| Cat6A | 10 Gbps | 328 feet (100 m) |
Fiber is often used for longer runs and higher speeds between racks, rows, and rooms.
Manage and Label Every Cable
Good habits here save hours of troubleshooting later.
- Use hook and loop straps instead of tight plastic ties
- Do not bend cables sharply
- Keep power and data cables apart
- Label both ends of every cable
- Use color coding for different networks if your team has a standard
- Leave a little slack so gear can slide out for service
Cooling and Airflow Checklist
Heat is one of the top threats to server health. Even a small airflow mistake can create hot spots in a rack.
Follow Hot Aisle and Cold Aisle Rules
Most data centers use a hot aisle and cold aisle layout. Cold air goes in the front of the rack. Hot air leaves out the back.
- Mount all gear so intake faces the cold aisle
- Check the fan direction on switches and appliances
- Keep floor tiles and vents clear
- Do not block rear exhaust with cables
Use Blanking Panels and Watch the Temperature
Empty spaces in a rack let hot air flow back to the front. Blanking panels stop that.
- Fill every open U space with a blanking panel
- ASHRAE recommends server inlet temperatures between 64.4°F and 80.6°F (18°C to 27°C)
- Check temperature sensors after the install
- Watch for hot spots near the top of the rack
Safety Checklist
Rack and stack work involves heavy gear, live power, and tight spaces. A safe job is a faster job.
Protect People
- Use a server lift or a second person for heavy items
- Lift with your legs, not your back
- Wear safety shoes and gloves when needed
- Keep walkways clear of boxes, carts, and loose cables
- Never stand on or climb a rack
Protect Equipment
- Wear an anti-static wrist strap when handling parts
- Keep liquids away from the equipment
- Store gear in its original packaging until it is time to install
- Anchor or bolt racks to the floor if required by your site
Testing and Final Sign-Off
A rack is not finished when the last cable is plugged in. Testing proves that everything works the way it should.
Run Power-On and Link Tests
Power on one device at a time. Watch for alarms or unusual sounds.
- Confirm both power supplies show active on each server
- Check that fans spin and no error lights appear
- Confirm network links come up at the right speed
- Test remote management access, such as iDRAC or iLO
- Ping each device and confirm it can reach its gateway
- Check that monitoring tools see the new gear
Document Everything
Documentation turns a good install into one that is easy to support.
- Final rack elevation diagram with U positions
- Asset list with serial numbers
- Power and port maps
- Photos of the front and back of the rack
- A signed checklist from the technician
Common Rack and Stack Mistakes to Avoid
Most problems on a rack and stack job are easy to prevent. Knowing them ahead of time helps your team avoid them.
Planning Mistakes
- Not checking power and cooling before the gear arrives
- Ordering the wrong rail kits or cable lengths
- Skipping the weight check on the rack or floor
- Not leaving room for future growth
Installation Mistakes
- Putting heavy servers high in the rack
- Plugging both power supplies into the same PDU
- Mounting gear with airflow facing the wrong way
- Leaving open U spaces without blanking panels
- Missing or unclear labels
- Skipping the final test
When to Bring In Professional Rack and Stack Help
Some projects are too big or too tight on time for an in-house team. That is when outside help makes sense.
Large or Multi-Site Projects
Rolling out racks in many locations takes planning, travel, and strong coordination. A national field team can keep each site on the same standard. Deploy Nation provides rack and stack services across the U.S. for projects of every size.
Tight Deadlines or Limited Staff
If your IT staff is already stretched thin, outside technicians can handle the physical work. Your team can then focus on configuration, security, and day-to-day operations. Many teams also pair rack and stack with remote hands, structured cabling, and IT relocation or decommissioning work.
A solid data center rack and stack checklist keeps every install on track, from the first box at the dock to the last test at the rack. Use it for each project, update it as your needs change, and your team will see fewer errors and faster go-lives. If you need trained technicians for your next install, contact Deploy Nation to talk about your project.